
Firstly, let's understand what exactly the Queue Assignment feature does.
The Queue Assignment feature streamlines the customer support workflow by intelligently assigning incoming tickets based on agent workload.
For instance, if the conversation limit is 4, and Agent A has four current tickets, the fifth incoming ticket goes to Agent B.
So, you kill two birds with one stone. On the one hand, your customers don't wait in long queues to get assistance. On the other hand, support agents are not overwhelmed with too many tickets.
To activate the queue assignment feature in Hoory AI, firstly, you need to enable the auto-assignment function for your team.
Here's how you do that:
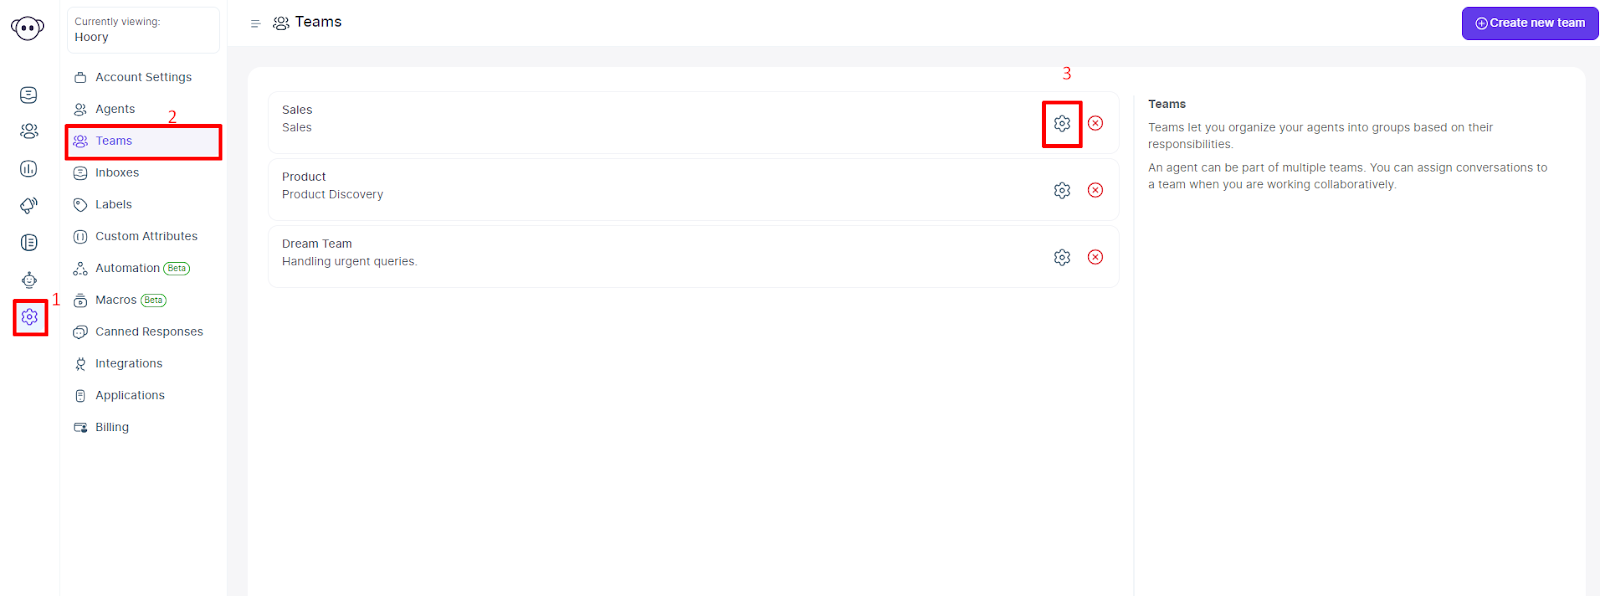
- Navigate to the Settings tab from the left sidebar.
- Click Teams from the expanded list of tabs.
- Open team settings.
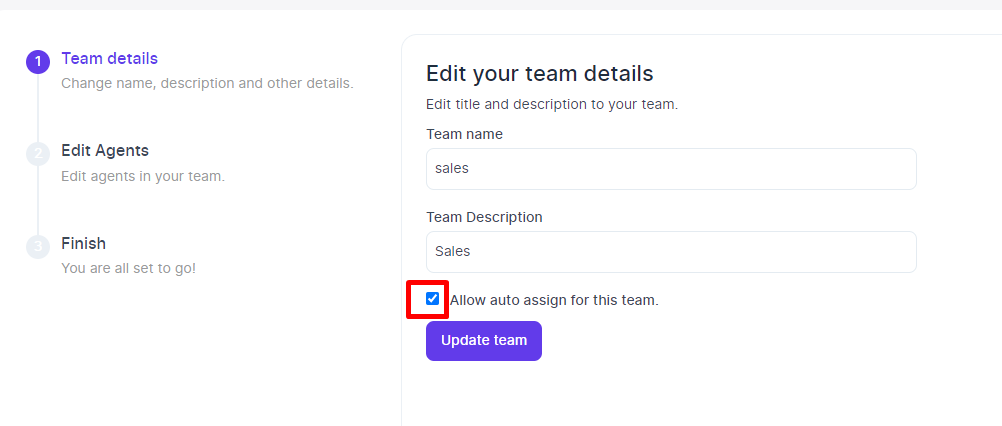
- Tick the following checkbox: "Allow auto-assign for this team," and click Update team.
- Navigate to channel settings.
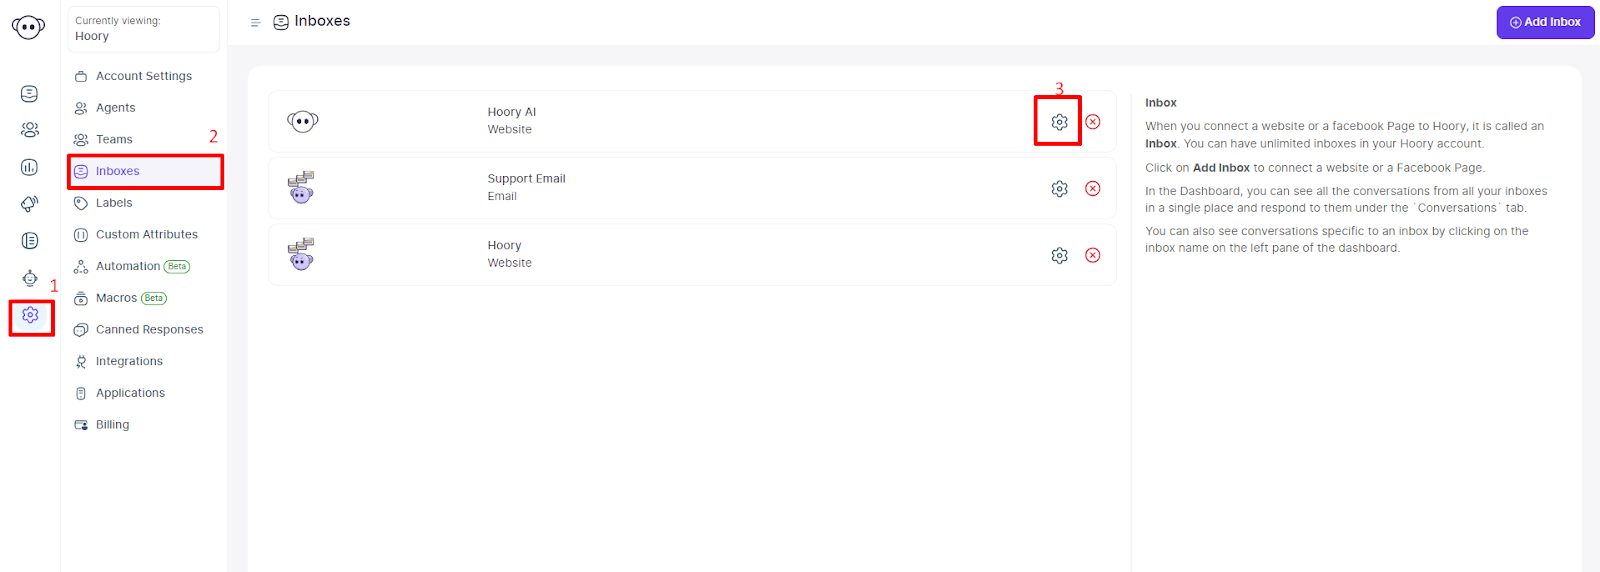
- Open the Collaborators tab.
- Set the auto-assignment limit (the maximum number of conversations from that particular channel that can be auto-assigned to an agent).
- Click Update.

- Once auto-assignment is enabled for the team and the conversation limit is defined, the Queue Assignment feature is also activated.
Wrapping up, as you learn the fundamentals, remember there's much more to explore with Hoory AI. The journey doesn't end here—keep experimenting, learning, and innovating with your AI assistant to unlock its full potential.