
Hi. Welcome to Hoory AI!
In this article, we'll dive into contact management inside your Hoory AI dashboard and will help you effortlessly track and manage your contacts like a professional.
Without further ado, let's get started.
To create a new contact, follow these steps:
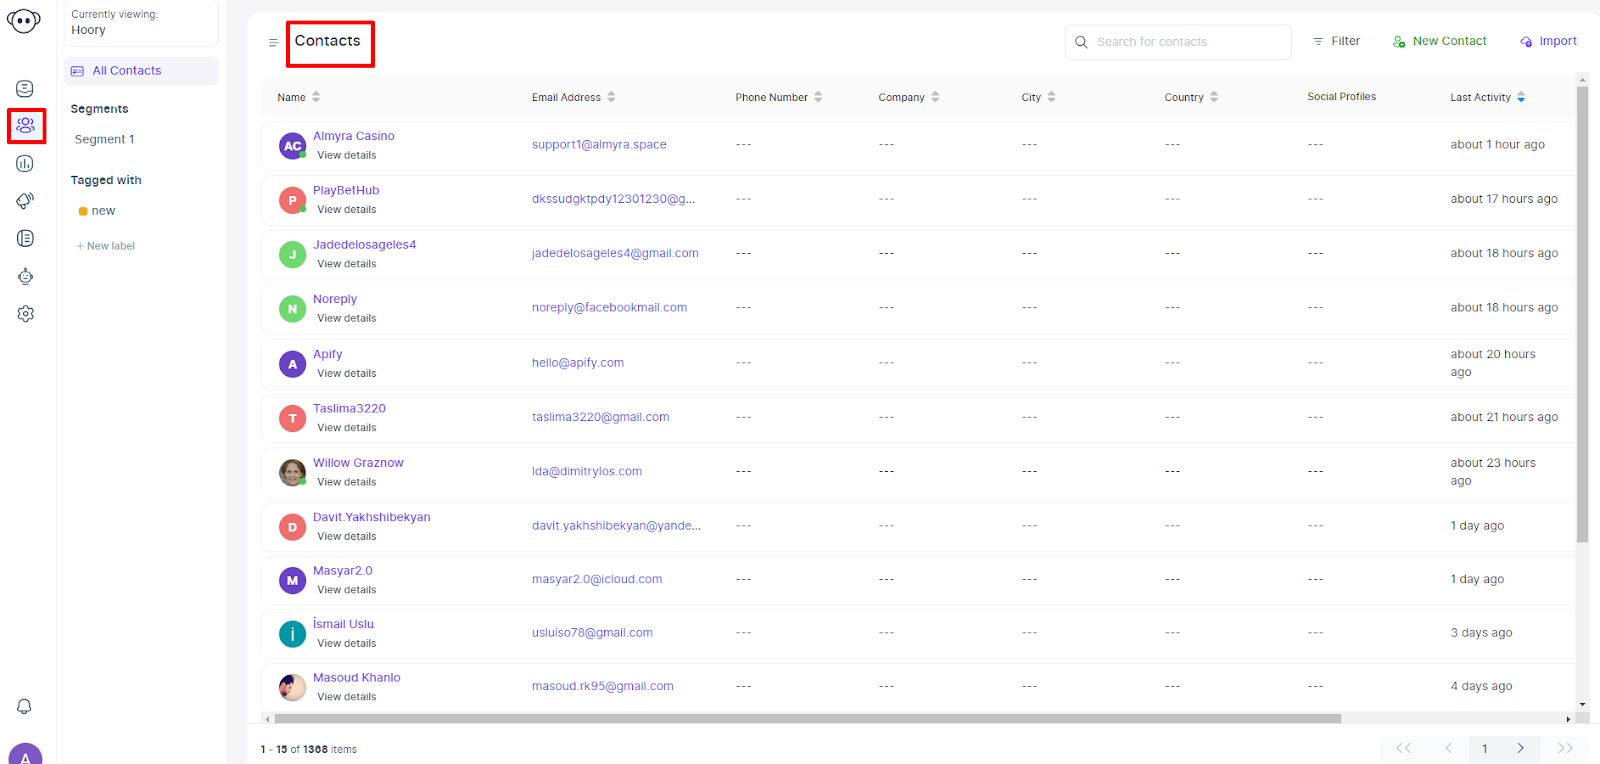
- Navigate to the Contacts page, click "Contacts" from the left sidebar. Here you will find the details of end users/customers you have interacted with using the Hoory AI widget. In other words, this page serves as a customer database.
2. To add a new contact, click the "New Contact" button on the top right corner of the Contacts page.
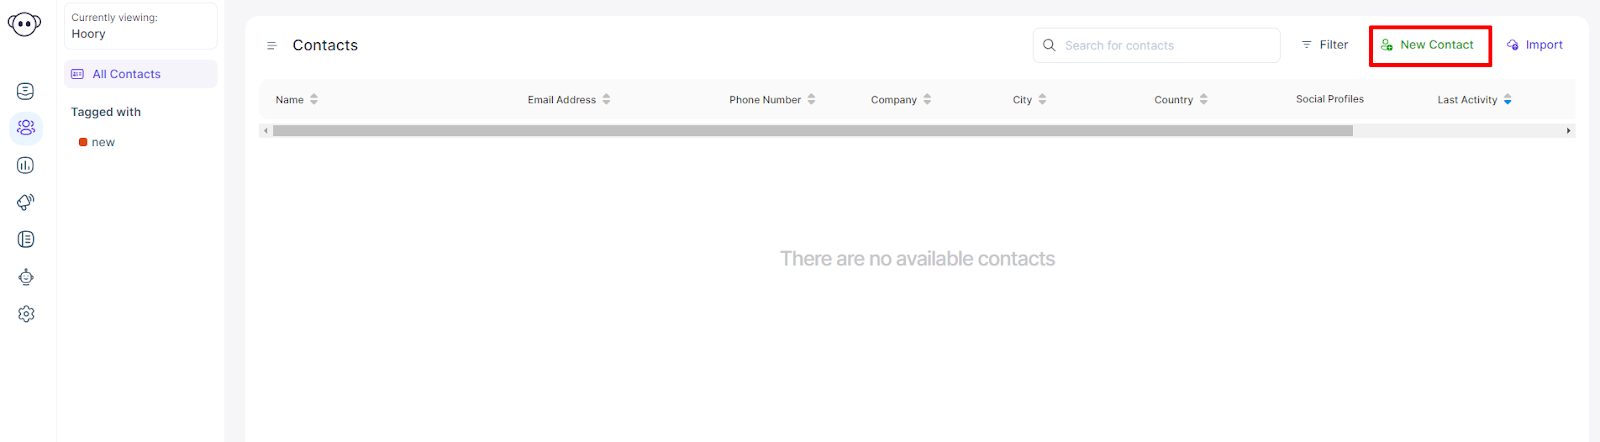
3. This action will open a pop-up window where you must type in user details. The fields to fill in are as follows:
- Contact avatar
- Full name
- Email address
- Bio
- Phone number
- Company name
- Country name
- City name
- Links to social media profiles

- Once all the fields are filled, in click Submit at the bottom, and you'll see a success message confirming that the contact has been successfully saved.
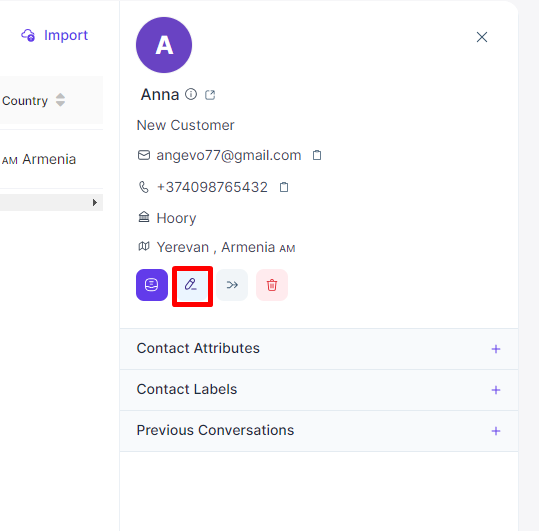
4. If you want to edit user details, click the user's name.

- This action will open up the following page.
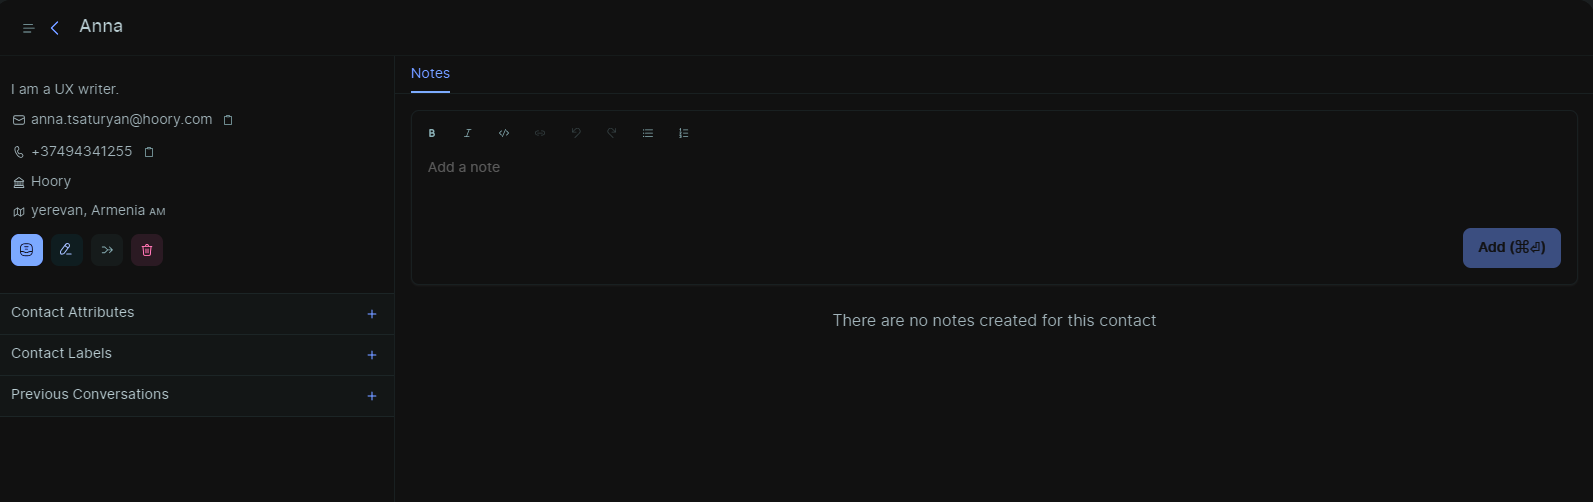
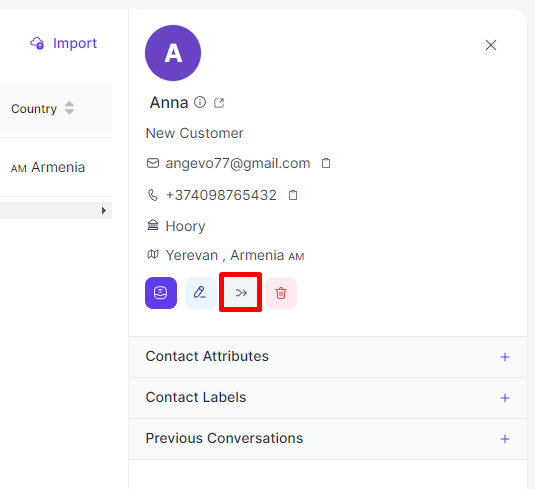
- Send a new message to that contact by clicking the "New Message" button.
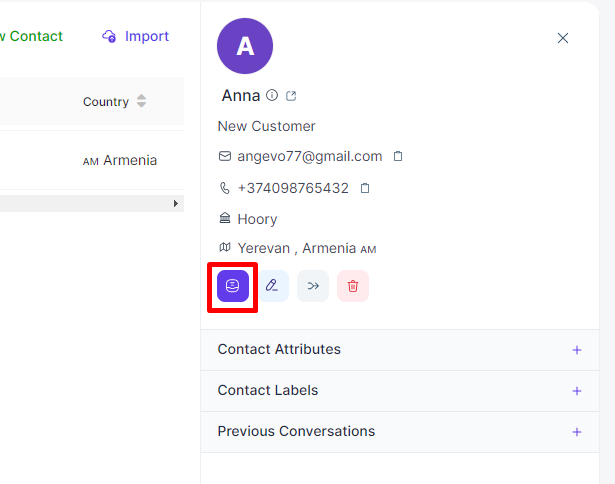
6. Edit contact information by clicking the "Edit" button.
- Merge contacts to combine two profiles into one, including all attributes and conversations.

- Delete contact by clicking the "Delete" button.
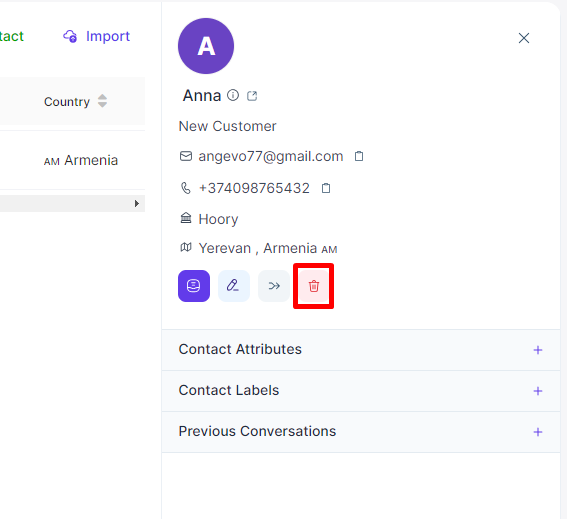
- Add notes about the contact.

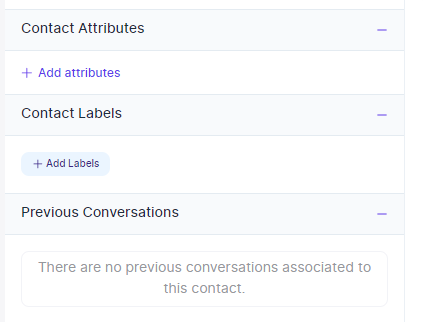
Additionally, you can view and edit contact attributes, labels, and previous conversations.
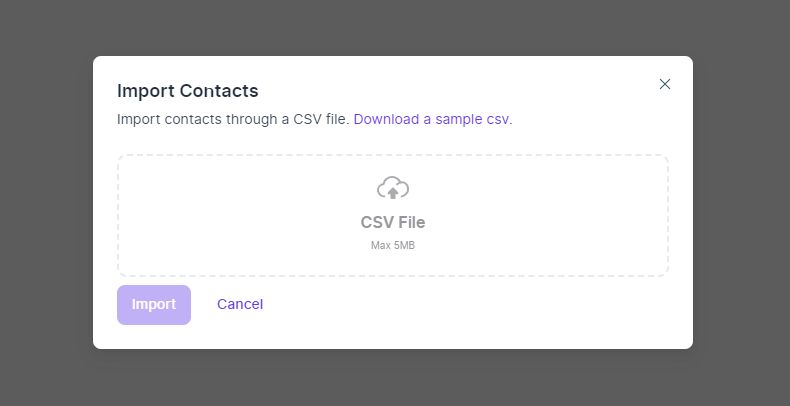
Importing Contacts
Hoory AI allows you to bulk import contacts from a CSV file. To import contacts, follow these steps:
- Navigate to the Contacts page from the sidebar.
- Click the “Import” button on the top right corner.
- Select the CSV file you would like to import to Hoory AI. Here's a sample CSV file for reference.
- Click the “Import” button to upload the CSV file to complete the process.

Searching Contacts
You can search all contacts by entering the name, email ID, or phone number in the search on top of the Hoory AI contacts screen.
The search system currently filters the contacts based on name, email ID, or phone number.

Filtering Contacts
Hoory AI lets you apply advanced filters for your contacts. You can filter contacts with multiple attributes at once and even query them with AND/OR operators.
Hoory AI offers filtering contacts by the below attributes:
- Contact name
- Contact email
- Phone number
- Contact identifier
- Country
- City
- To filter contacts, click the “Filter” button on the top right-hand corner of the Hoory AI contacts page.

To get all the contacts not from "USA" and their full name contains "John."
- Set the 1st filter type as "Name," the operator as "Contains," and the value as "John."
- Click the "Add Filter" button
- Set the 2nd filter type "Country," "Not Equal To" as the operator, and "United States of America" as the value.
- Hit "Submit," and the contacts list will now be filtered by the above criteria.

You can apply as many filters as you want by combining them with AND/OR operators to create complex queries and funnel a list specific to your needs.
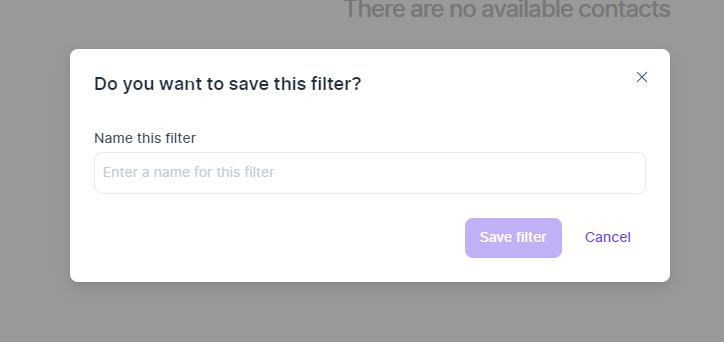
To save the applied filters, click the "Save filter" button, as shown below.

Upon clicking the "Save filter" button, you will be asked to name the filter and confirm it by clicking "Save filter."
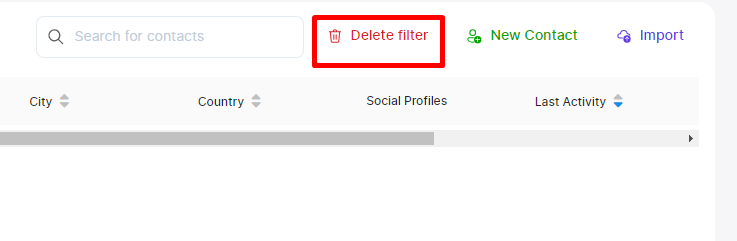
This action will automatically create a contact segment in the left sidebar.

To delete the segment, click "Delete filter", then confirm the action.
To clear the filters and return to All Contacts, click the "Clear Filters" button in the filters pop-up.

That's it. Easy as that!
Wrapping up, as you learn the fundamentals, remember there's so much more to explore with Hoory AI. The journey doesn't end here—keep experimenting, learning, and innovating with your AI assistant to unlock its full potential.